1. Navigate to Settings - Notifications
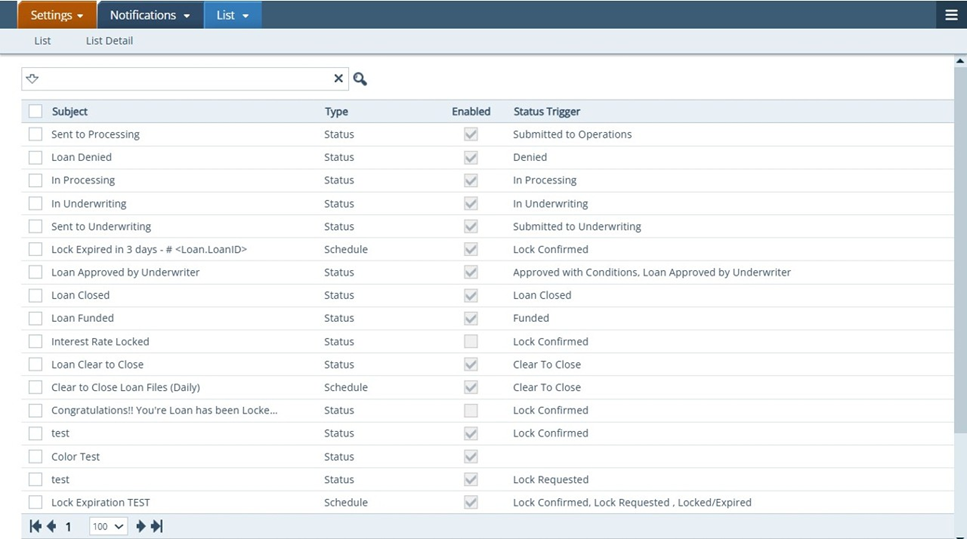
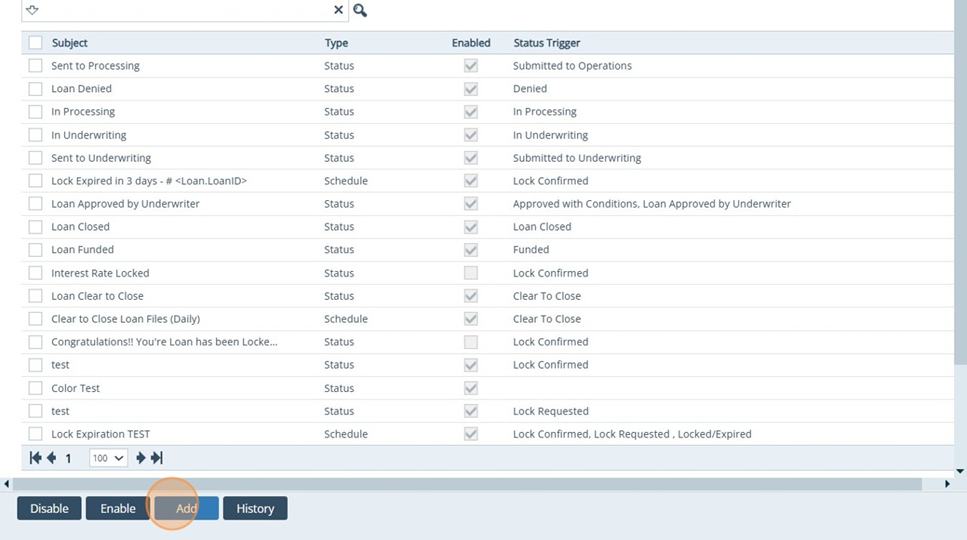
2. Settings - Notifications: Click the Add button to create a new Notification
3. Settings - Notifications: Click the Type dropdown to select your Notification Type
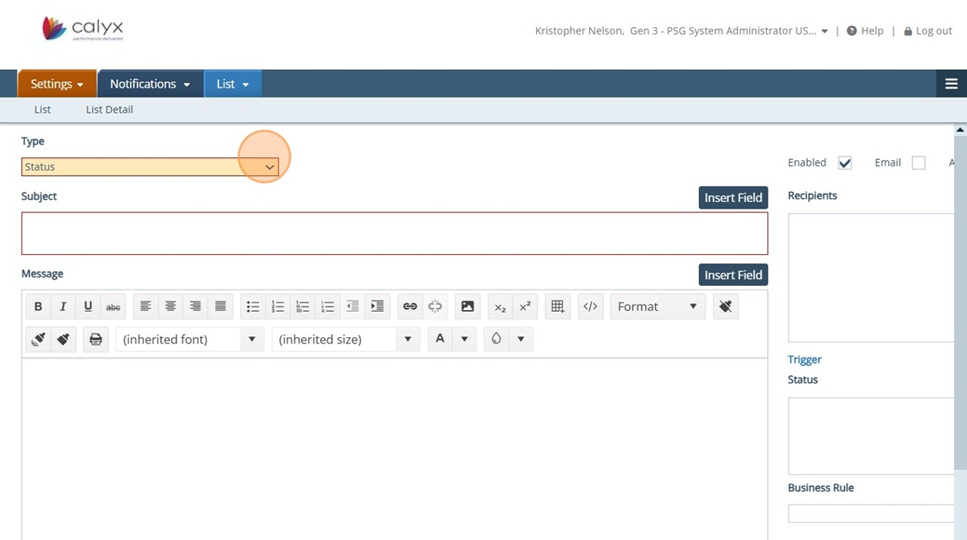
4. Settings - Notifications: Select Status. The most common Notification Type is Status. This means once a status is captured in Path, a notification sends to a user(s).
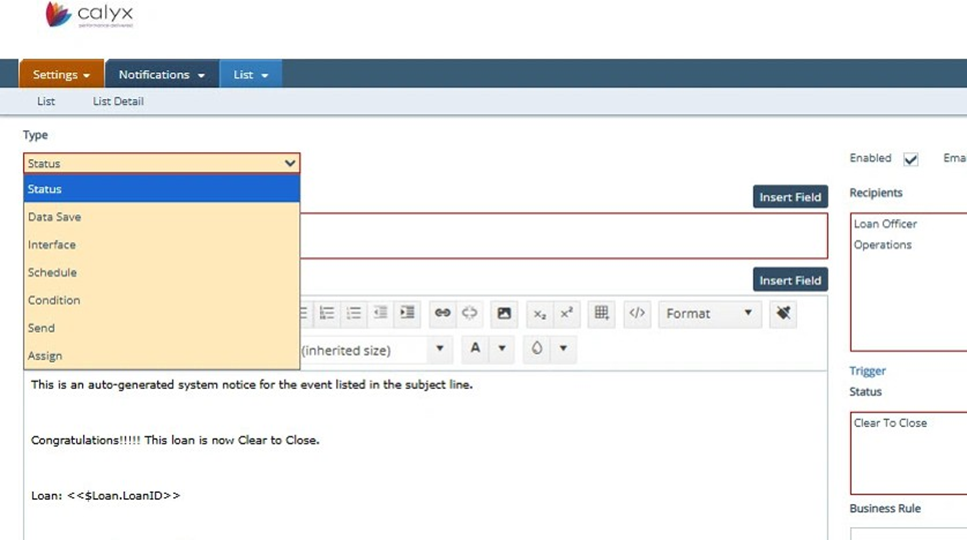
5. Settings - Notifications: Other Notification Types are below:
-
Data save - Will send a notification when data is saved or auto saved in the system.
-
Interface - Will send a notification when Interfaces are ran.
-
Schedule - Will send a notification at a pre-selected time.
-
Condition - Will send a notification when conditions are issued, cleared, waived, etc.,
-
Send - Will send a notification when a file is sent to another role.
-
Assign - Will send a notification when a file is assigned.

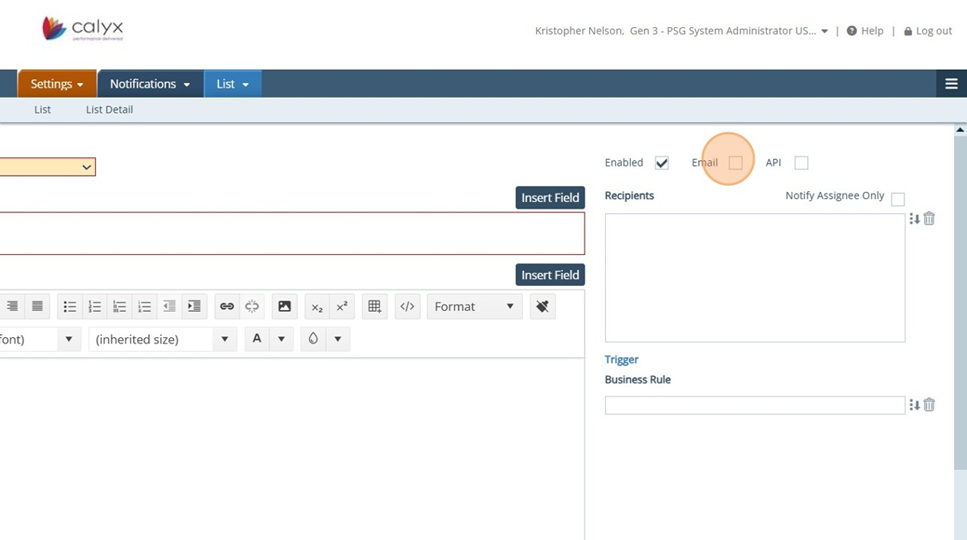
6. Settings - Notifications: Click the Email indicator. Enabled will automatically be checked; however Email will not though it is required. Make sure Email is checked
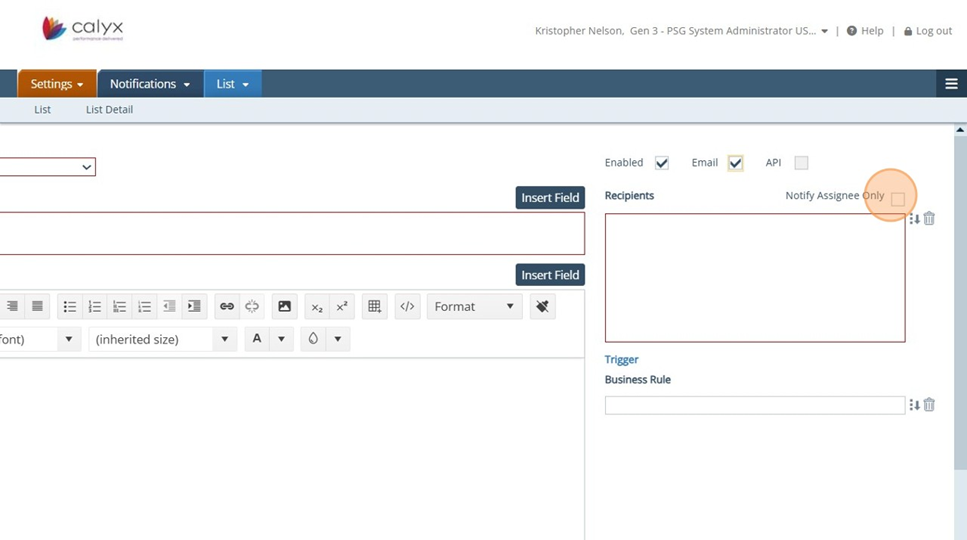
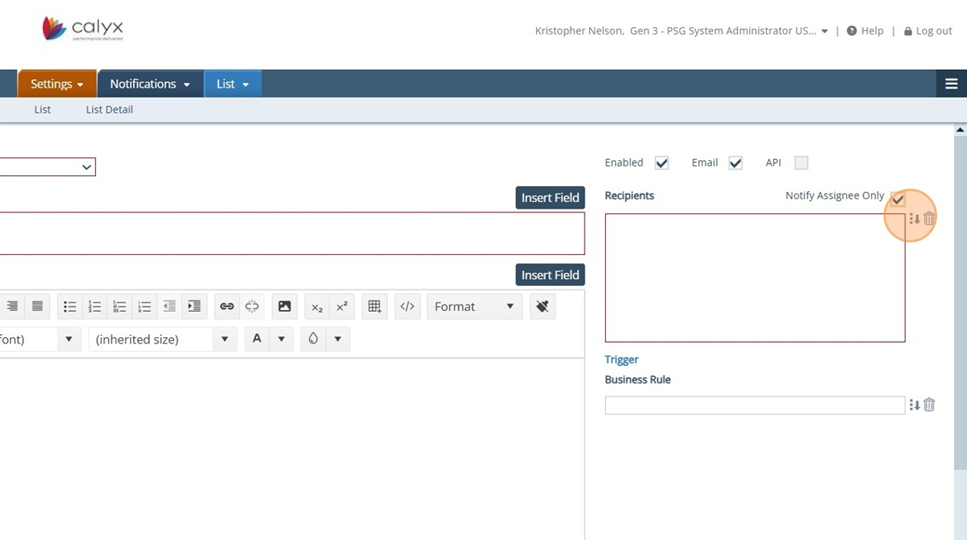
7. Settings - Notifications: Notify Assignee Only - Will only notify users that have been assigned to the file prior to the notification being triggered. If it is left unchecked, all users who are in the role(s) listed in the Recipients list will receive the notification.
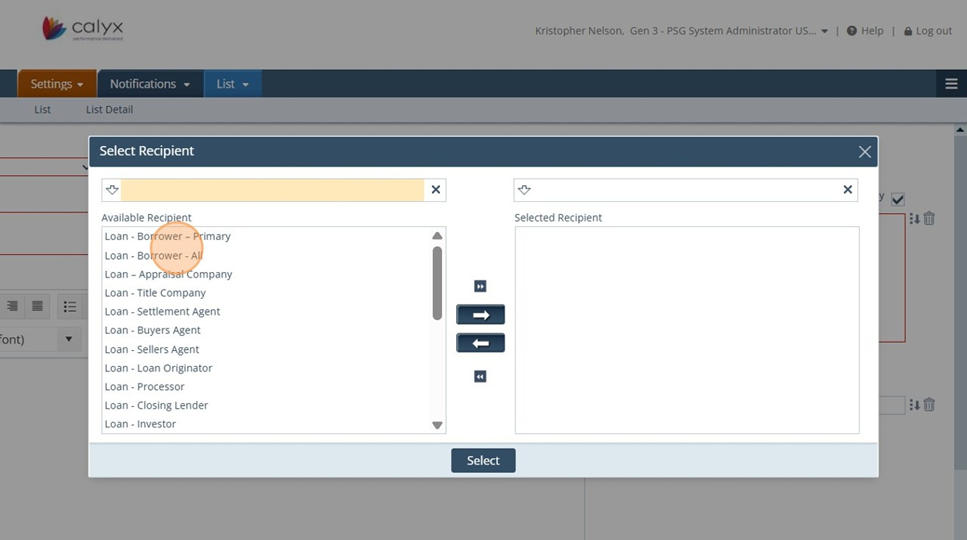
8. Settings - Notifications: Click the selection icon under Recipients to add your notification recipients
9. Settings - Notifications: Select Recipients - All Recipients beginning with "Loan - "are external contacts
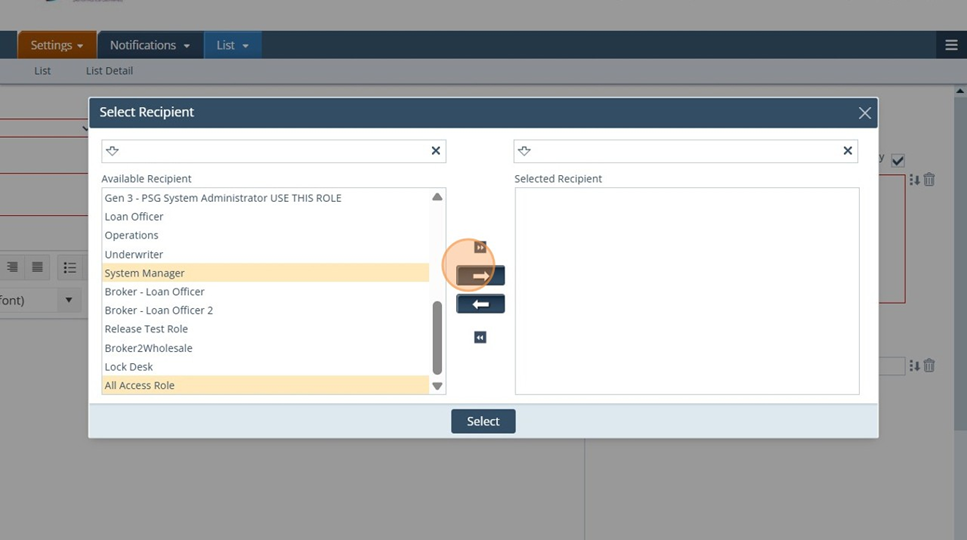
10. Settings - Notifications: All Recipients at the bottom are internal contacts or your roles in Path. Move all desired recipients over to the right via the arrows.
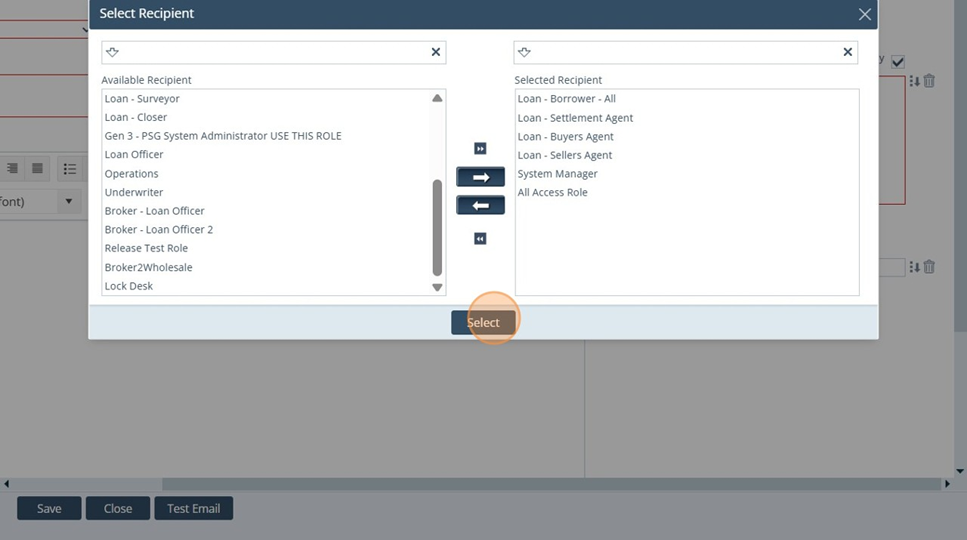
11. Settings - Notifications: Click select to add the Recipients to the Notification
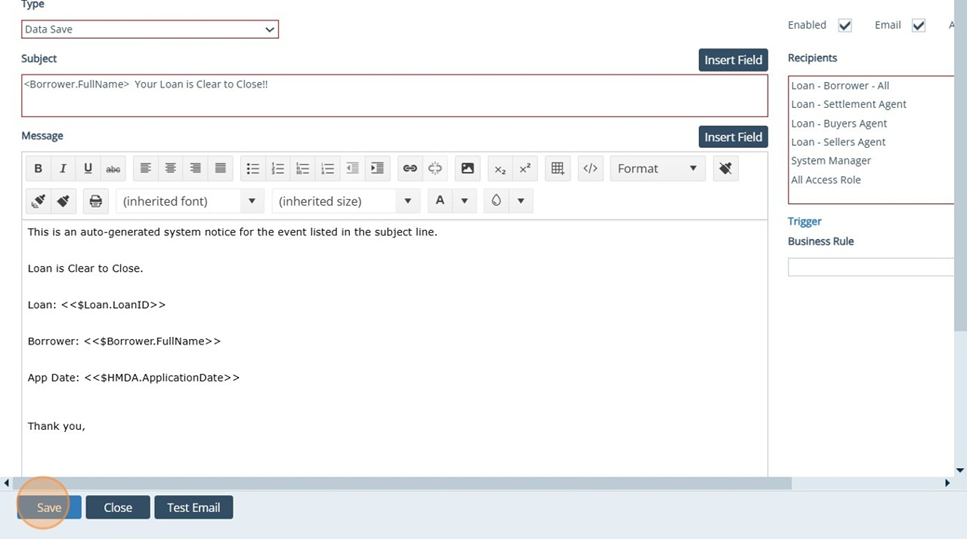
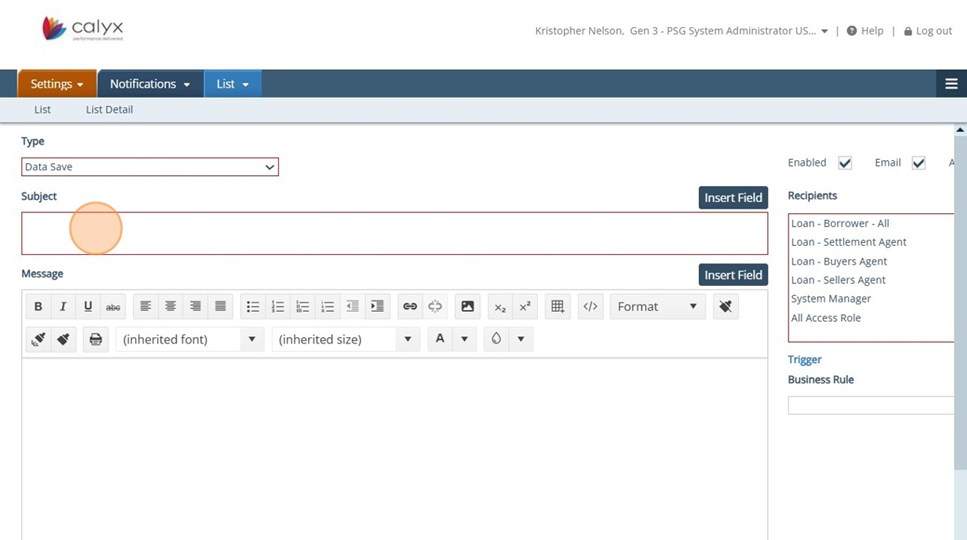
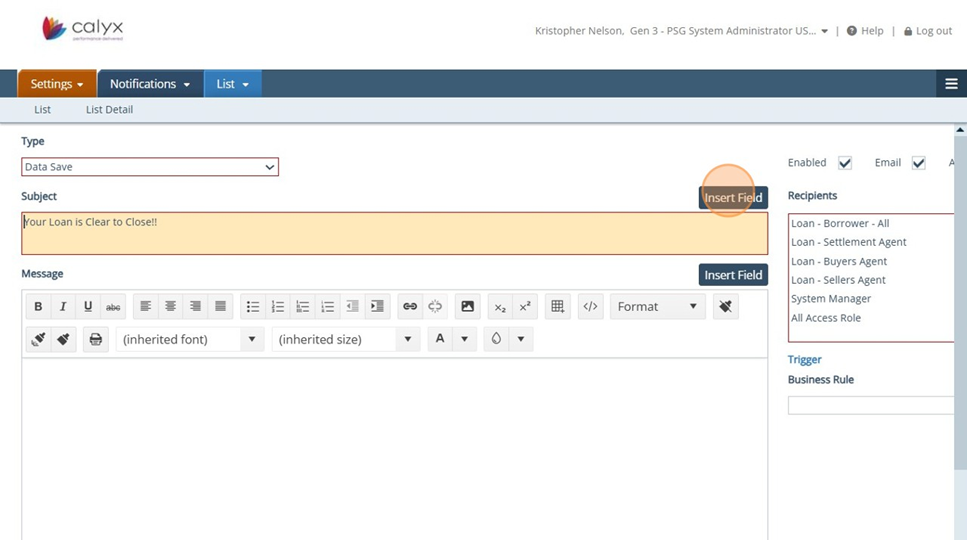
12. Settings - Notifications: Subject - Type your custom Subject message and or select Insert Field to insert different fields such as: Borrower Name or Property Address.
13. Settings - Notifications: Click on the Insert Field button to view the list of fields available for Notifications
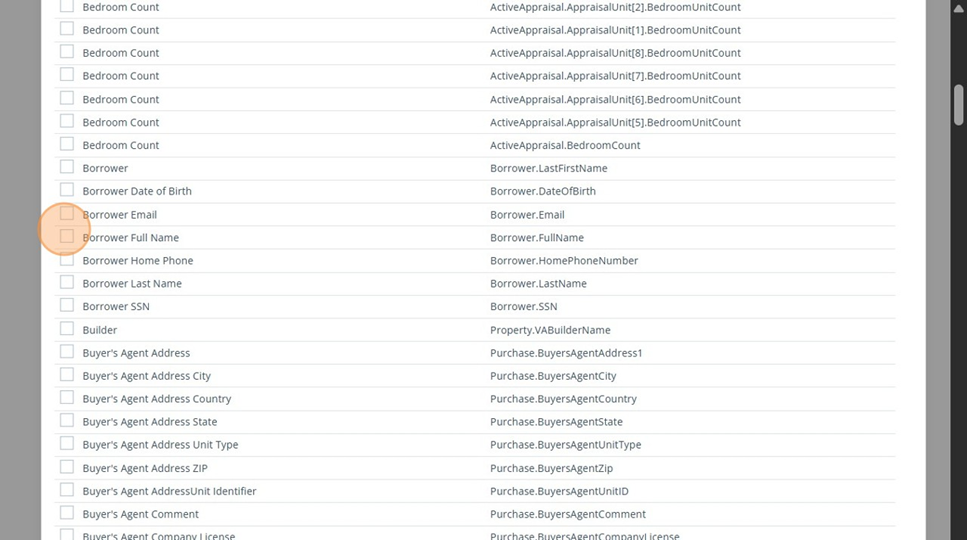
14. Settings - Notifications: Choose from a list of Path fields to add to your notification. In this example, Borrowers Full Name is selected.
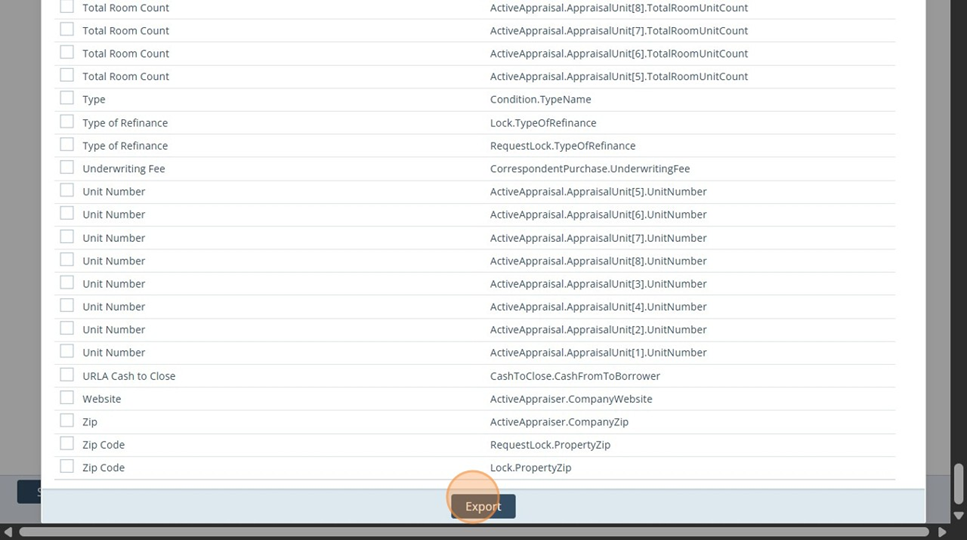
15. Settings - Notifications: Click Export to add the field to your notification.
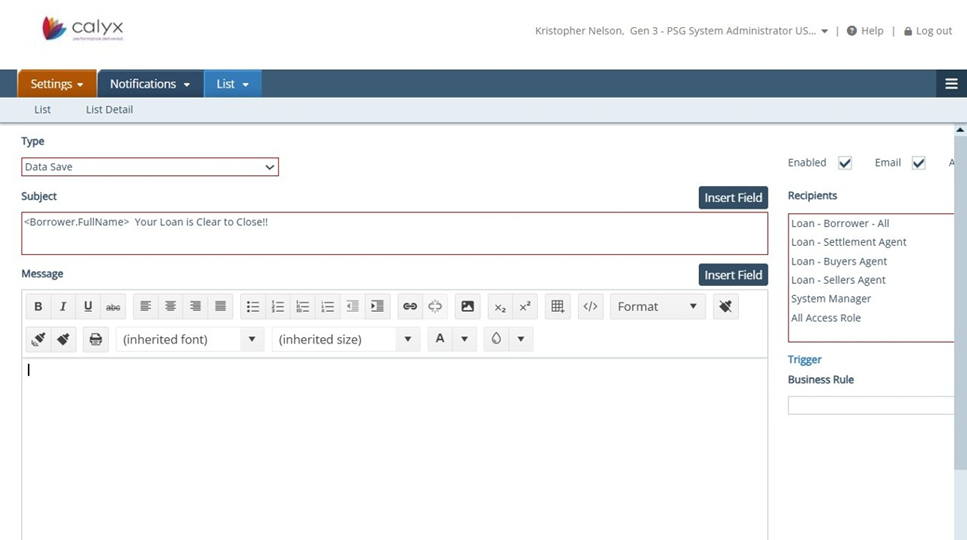
16. Settings - Notifications: The exported field, "Borrowers Full Name" was added to the Subject line. When this notification is sent it will always attached the Borrowers Full Name. Fields can be added to both the Subject and Message sections
17. Settings - Notifications: Create your custom notification message with or without fields and save