Overview
This guide walks you through the process of creating a personalized email template using HTML and Merge Fields within Calyx Zenly. Whether you are streamlining borrower outreach or customizing communication, this workflow ensures consistency and professionalism.
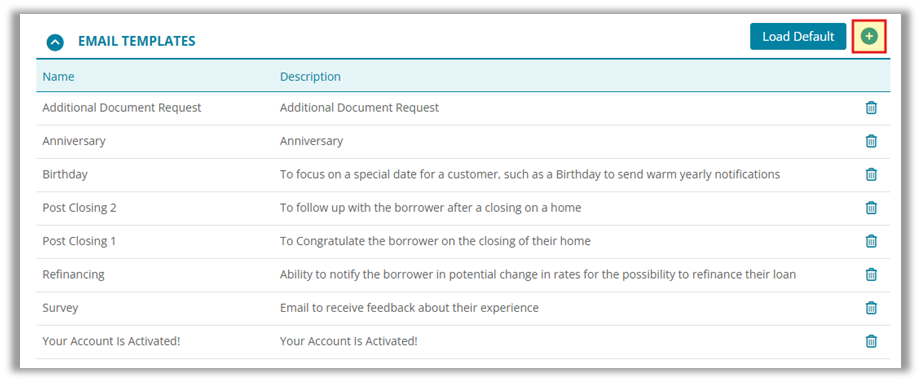
- Navigate to Email Templates
From the dashboard, go to Templates > Email Templates. - Start a New Template
3. Name the Template
Enter a meaningful title that reflects the email’s purpose.
.

4. Copying HTML Code from a Web Browser
Please see KB (______)
5. Insert Custom HTML
In the toolbar, click the Source Code icon.
Paste your HTML code into the pop-up editor.
Click OK to confirm and return to the editor.

6. Edit the Template Body
-
-
- Review the email content in the body editor.
- Place the cursor where you want to insert personalized data.
-

7. Add Merge Fields
-
-
- Use the drop-down menu to choose Insert Merge Field.
- Select the correct Merge Field for your needs.
-

8. Save Your Work
After completing your edits, click the Save button located at the bottom of the dialog box to apply your changes.


9. Send a Sample Email
Use Send Sample to evaluate the layout and merge field accuracy.

Reloading the Default Email Templates
Click “Set Back to Loan Default.”
-
-
- Within the template editor, locate the “Set Back to Loan Default” button at the bottom of the editor interface.
- Click the button to trigger the reset.
-

Confirm Reset Action
-
-
- A confirmation prompt will appear.
- Accept the prompt to proceed with the reset.
-

Example HTML Template

The screenshot illustrates the Calyx Zenly email template editor interface, showing where users can input HTML, insert merge fields, and preview their content before saving and sending.
Summary
Users can create customized email templates in Calyx Zenly using HTML and merge fields. This streamlines the setup process, making email customization efficient and scalable for professional communication with borrowers.