This article consists of the following procedures required to perform this task:
- Enabling Auto File Naming
- Loading field ID's for the fields that will be imported
- Creating an Import Template to import the data
- Using the Import Template to import the delimited text file
Enable Auto File Naming
1. Open Point.
2. Navigate to Utilities > Auto File Naming > Borrower from the top menu.
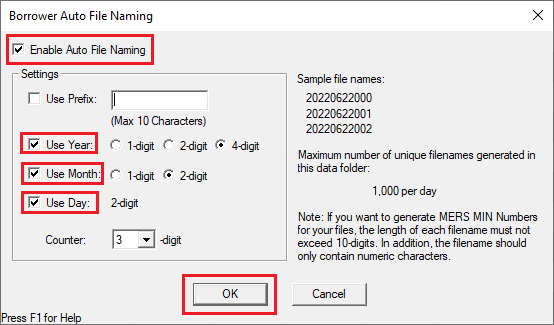
3. Mark the Enable Auto File Naming checkbox.
4. Use the available Use Year:, Use Month:, and Use Day: checkboxes and radio buttons to denote the Settings to be applied to your files.
5. Select a Counter: of 2 or higher.
6. Click the OK button.
Gather Fields ID's for Excel file and Save
1. Open the Comma Delimited file you will be importing your data from.
Note: Windows will open a *.TXT file with Notepad by default. The following example shows a file called Input.txt.
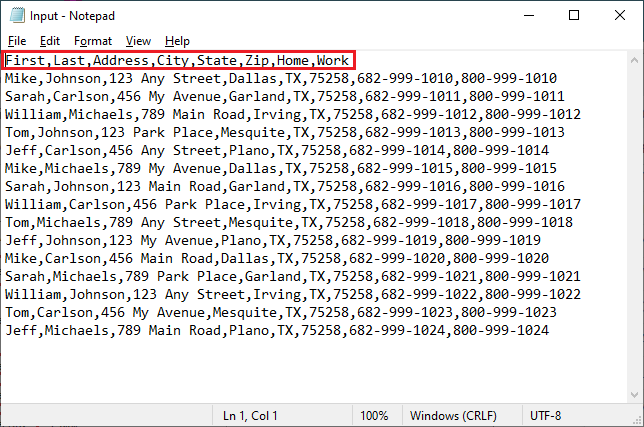
2. You will need to make a note of the field names to match actual Fields ID's for mapping in Point.
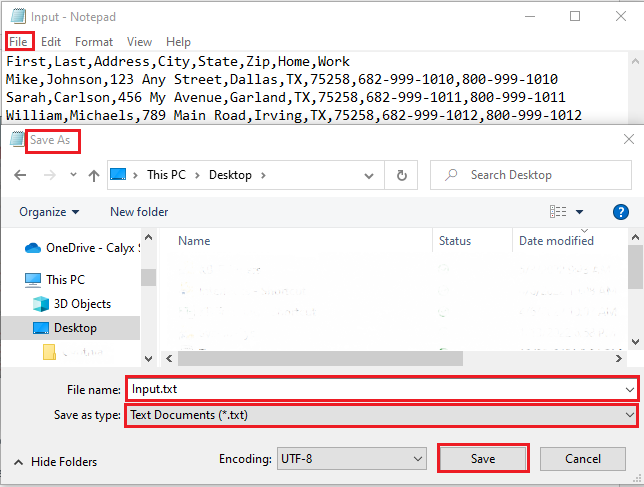
3. Save the file to your Desktop by clicking File > Save As... and choose Desktop as your location.
4. Choose file type of Text Documents (*.txt) from the Save as type dropdown menu.
5. Click Save.
6. Open Point.
7. Navigate to Utilities > Load Field ID > Borrower from the top menu.
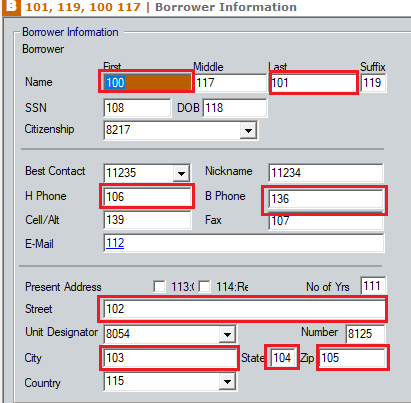
8. Review and verify the field id number for each field in which you will be importing data.
For example:
- 100 for the Borrower First Name
- 101 for the Borrower Last Name
- 102 for the Borrower Street
- 106 for the Borrower H Phone
Create and run an Import Template
1. Open Point.
2. Click the Templates tab from the left navigation panel.
3. Select Data Import.
4. Click New.
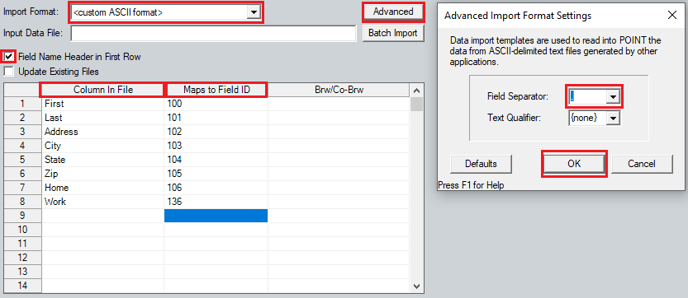
5. In the Import Format dropdown, select <customer ASCII format>.
6. Mark the Field Name Header in First Row checkbox.
7. Use the Column In File available fields to enter those from your delimited file.
8. Enter the Field ID's into the Maps to Field ID column.
Note: Make certain the numbers entered are accurate as they are used for mapping the data into Point to populate your files.
9. Click the Advanced button.
10. In the Advanced Import Format Settings select "," for comma delimited in the Field Separator dropdown.
11. Click OK.
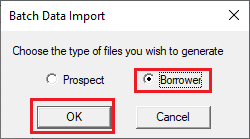
12. Click the Batch Import button and select Borrower.
13. Click OK.
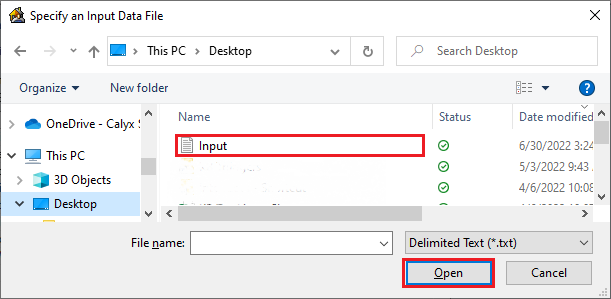
14. Select the saved Input.txt file from your Desktop.
15. Click Open to begin importing data.
16. From the menu bar, select File > Save.
17. In the File name field, enter the name PointImportComma for future use and click Save.
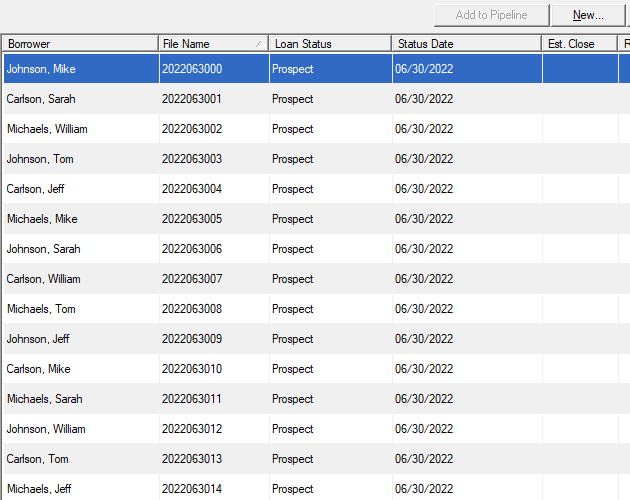
18. Select Loans from left navigation panel and click Search to refresh list.
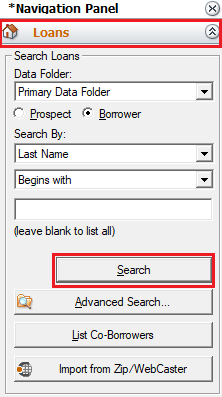
19. All loans from the delimited file have been added.