2102 Completing the Loan Estimate
- Open a loan file.
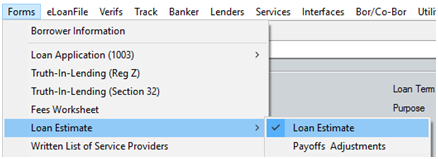
- Open the Loan Estimate from the Forms menu or the shortcut toolbar on the left of your screen.


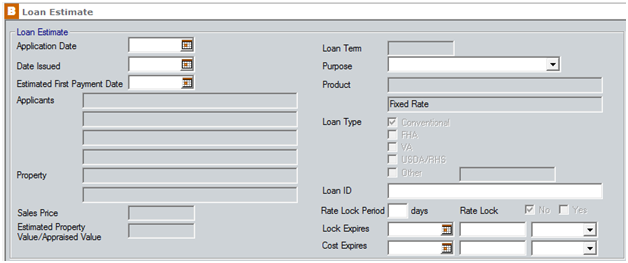
3. Enter or edit the Application Date and Date Issued.
4. Enter or edit the Estimated First Payment Date.
5. Select the Purpose from the dropdown list.
6. Edit the remaining data as needed.
The Loan ID will populate from the Lender Case No. field on page 1 of the Loan Application when the Company Information default is set to Lender.
- Enter the number of days of the Rate Lock Period.
- Enter or edit the Lock Expires Date and Time and specify the Time Zone using the dropdown list.
- Enter or edit the Cost Expires Date and Time and specify the Time Zone using the dropdown list.
Note: If the Intent to Proceed date is entered on the Fees Worksheet the Closing Costs Expiration will not print.
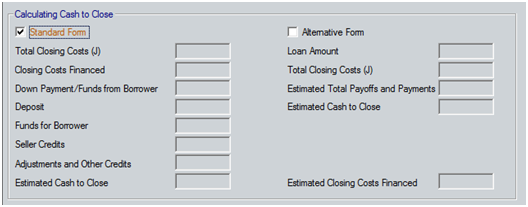
- Scroll to the Calculating Cash to Close section.

Note: Standard Form is the default selection.
3. Scroll to the Other Considerations section.
5. Enter or edit the Late Payment data and select the payment type from the dropdown list.
6. Select the applicable Servicing checkbox.
7. Scroll to the Confirm Receipt section and select the Confirm Receipt checkbox to include a signature line on the printed form.

If the checkbox is not selected, a line for the borrower's signature is not included on the printed form.
For information on where the data of various pre-populated fields carries over from refer to the attached document below.