8120 Setting up your Zip site
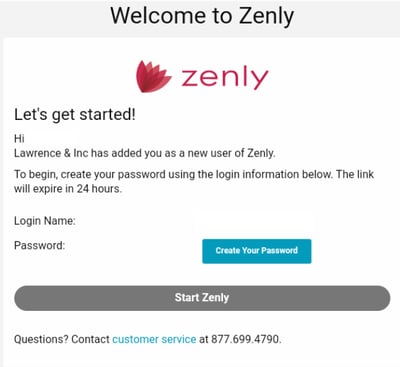
After you have added a New User, you will receive a welcome email containing a link to your admin page.

4. Click the Create Your Password button provided in your welcome email.
Note: You may want to copy or write down the Login information provided on this screen, as you will need it any time you login to the Zenly account.
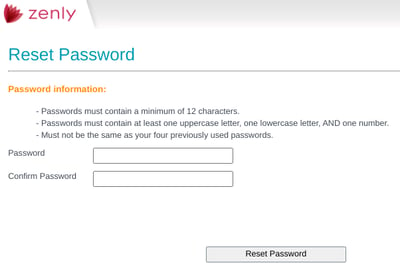
5. Enter and confirm the password you would like set to your Zenly account.

Note: The password has certain requirements – be sure to read them before deciding on a password to use.
6. Click the Reset Password button.
7. Click OK on the confirmation dialog box.

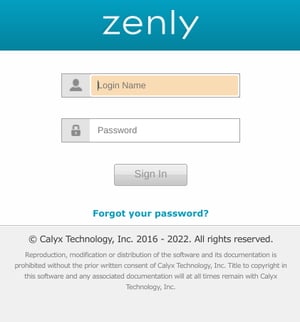
You will be redirected to the Zenly login page. It is a good idea to bookmark this web site for future access.
8. Verify the Email Address, enter the Password you just created and your Website.
9. Click Sign In.
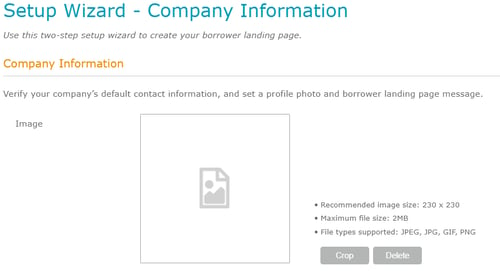
You will now be taken to the Setup Wizard where you can customize your Zip landing page.

Loan Originator Information
This is where you will verify and complete the contact information, upload an image, and customize a message for your customers to view on your landing page.
1. Click the Image button to locate the image you want to show on the landing page and, after selecting it, click the Open button.
2. Verify data in the fields populated from the information entered when ordering Zip.
3. Enter your and your company’s NMLS Number(s).
4. Add a message to your applicants in the Landing page message to applicants content box.
5. Select the state(s) applicable to your license.
6. Click the Next button.
The Congratulations! screen will load giving you your personalized URL that you can give to your prospective borrowers. This URL will direct them to the landing page you just completed, allowing them to fill out an online borrower interview that will be delivered to you upon submittal.
6. When you have finished reviewing the screen, click the Finish button.
You will now be redirected to your Zenly admin site where you control the various aspects of your Zip account.